Custom Drone Meshes
Adding custom drone meshes to AirSim is fairly straightforward once you understand the workflow.
- Have a 3D model for the desired drone.
- Consolidate drone model into one piece and reduce number of triangles (mesh reduction)
- Have 3D model for drone propellers
- Enter Unreal and duplicate the default AirSim drone.
- Create custom drone asset in unreal by importing 3D model and blades
- Link pieces together in asset builder.
Model Consolidation and Mesh Reduction
The way that our team reduced the complexity of the 3D drone and blade models, and I believe the easiest method for this, is through using Fusion360.
Fusion360 provides a diverse suite of tools for 3D modeling, simulation, version control, and importantly, mesh modification.
Model Consolidation
Model Consolidation is fairly straightforward when you have an Assembly. An Assembly is a collection of individual components that function as a single design in fusion. Given the Assembly has multiple components, selecting any 2 components and selecting the Combine tool will combine the components into a single component.
Mesh Reduction
Mesh Reduction occurs after model consolidation, as rendering a complex mesh is computationally intensive so it is recommended to only mesh the outside of as few components as possible while maintaining the level of model fidelity you aim to acheive. The process is the same as model consolidation, select the component, navigate to the Mesh tab, and select the correct tool. The specific tool we used is called Reduce.
Drone Customization
Using the assets created in the previous step, it is time to customize the drone model in Unreal.
-
Enter Unreal and locate the AirSim content using the content browser.

-
Duplicate the default AirSim drone.

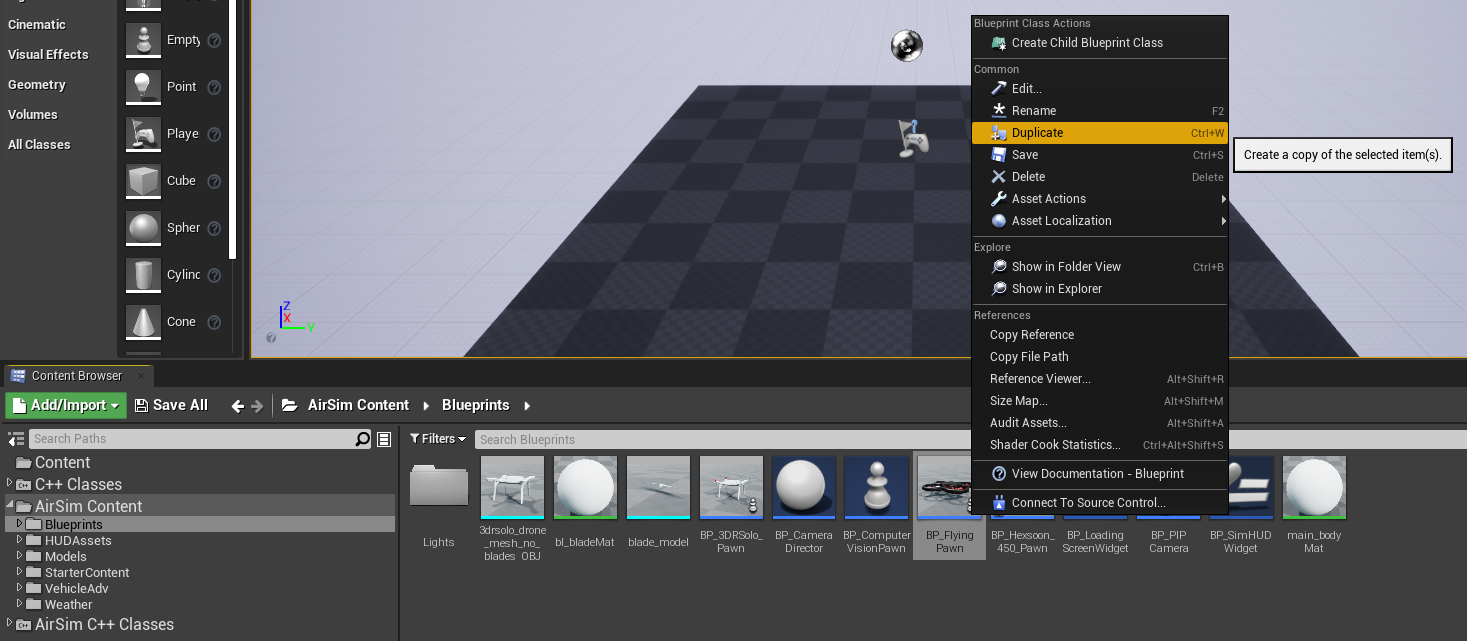
-
Double click to enter the Asset Editor
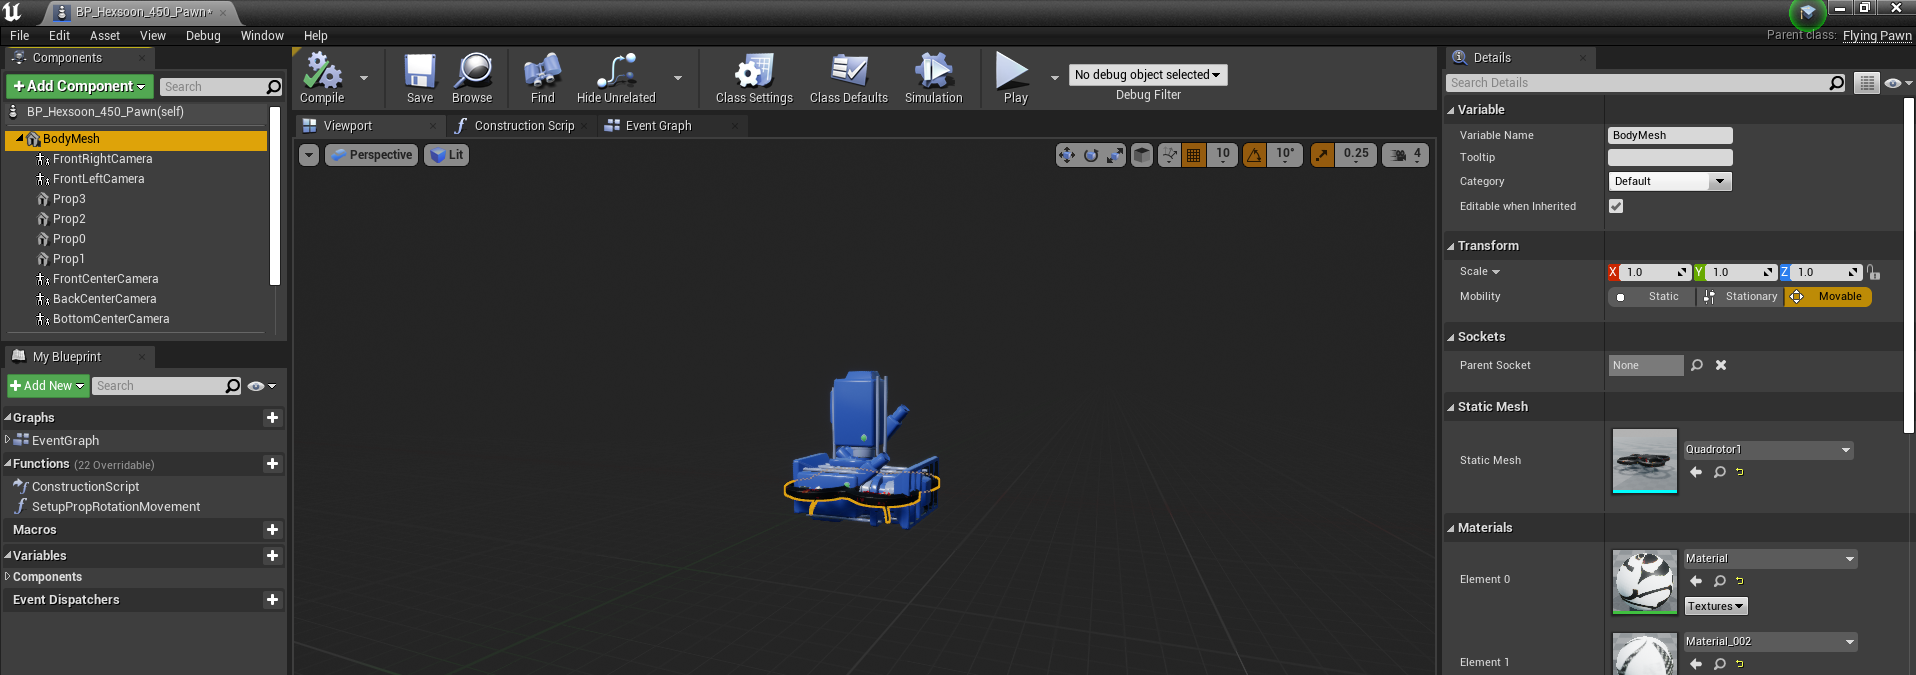
-
Select the correct drone model
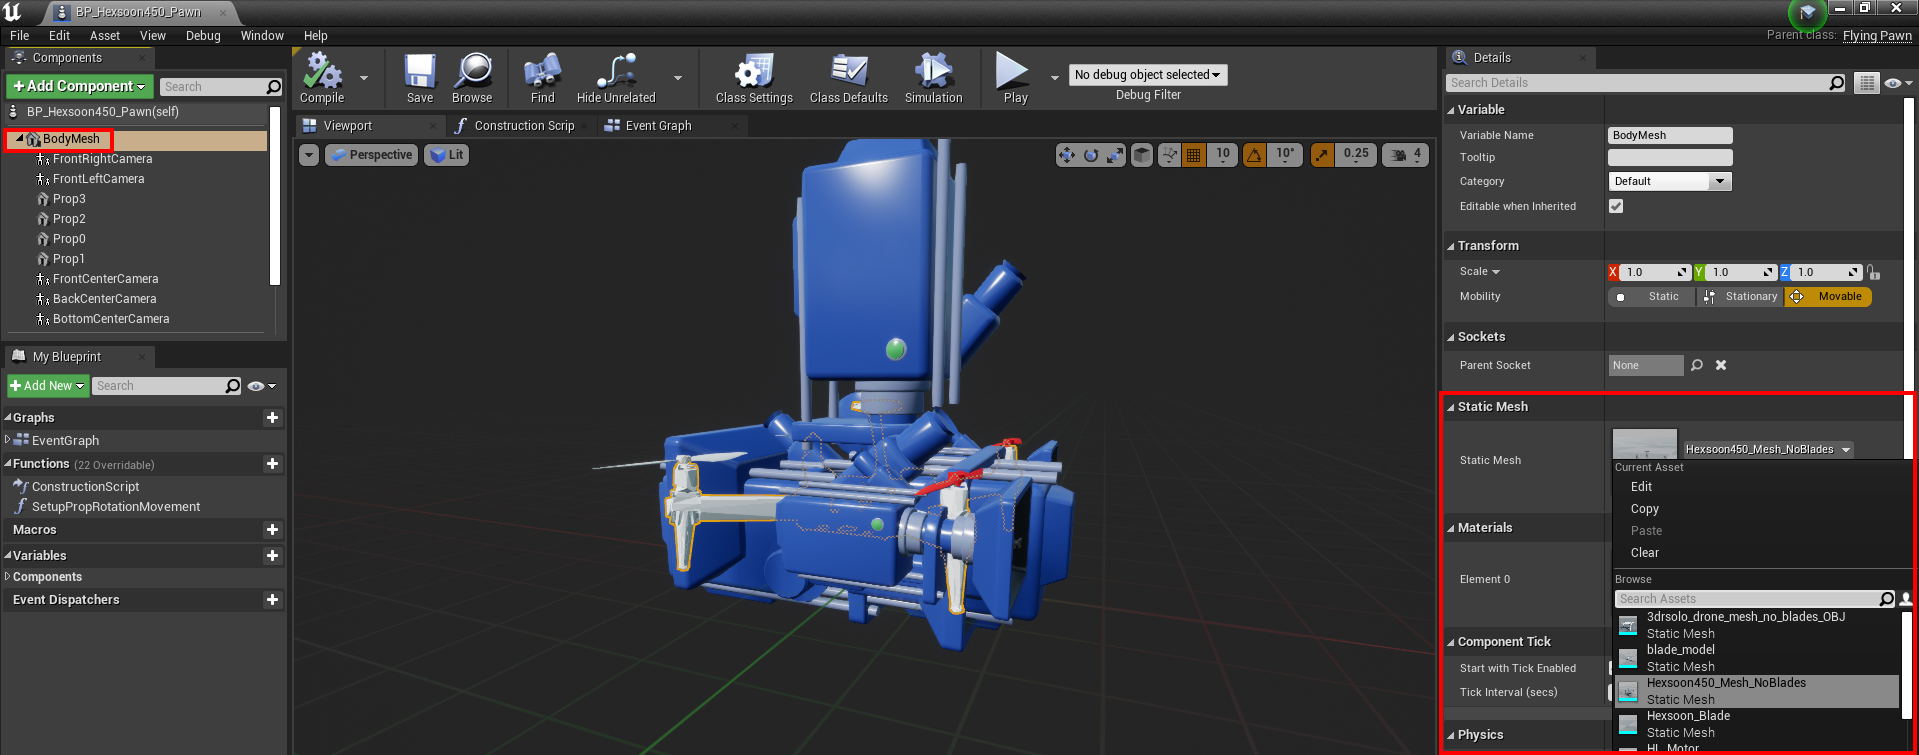
-
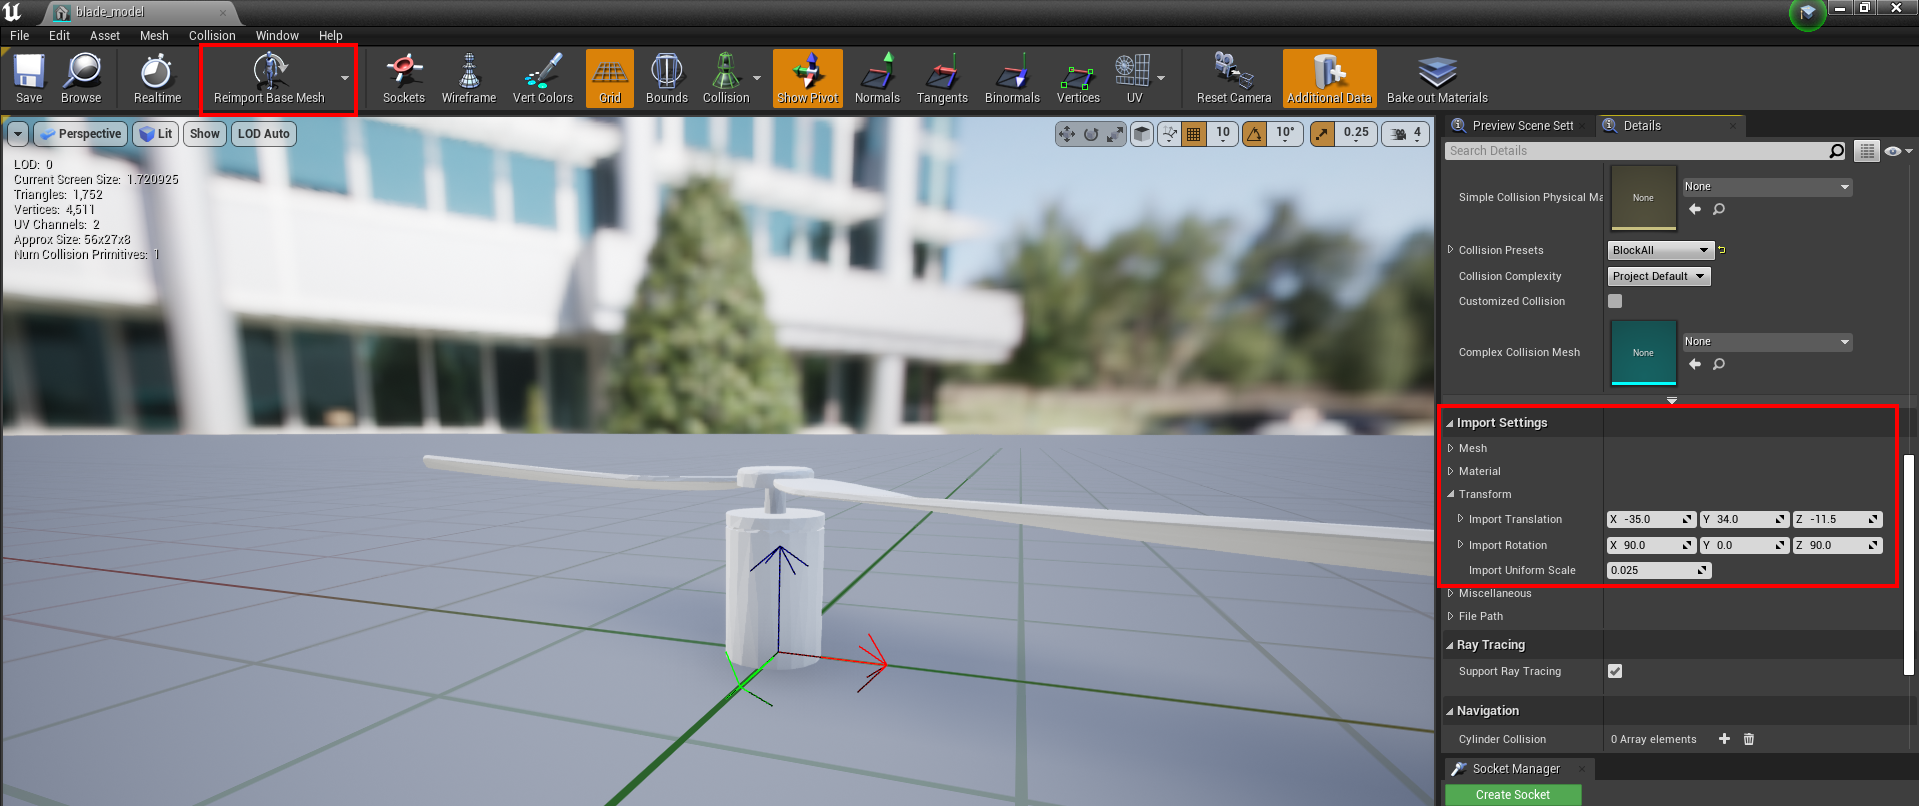
Adjust blade model pivot points and reimport.
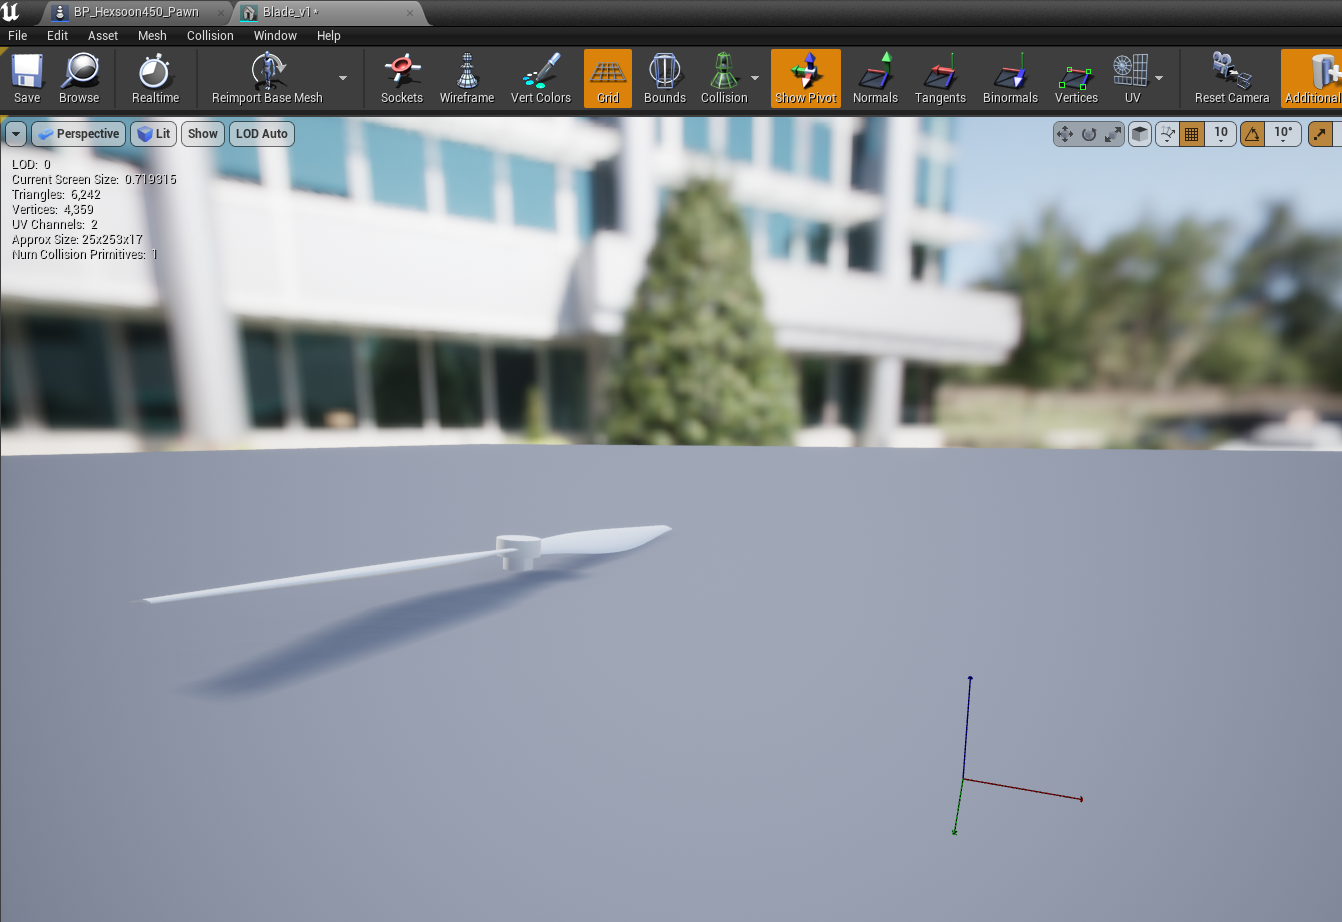
-
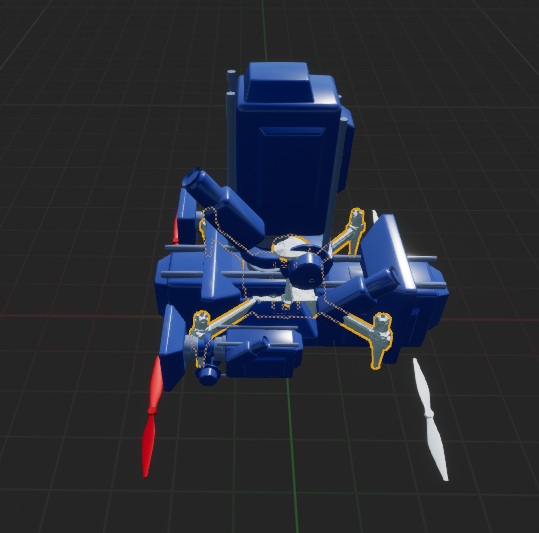
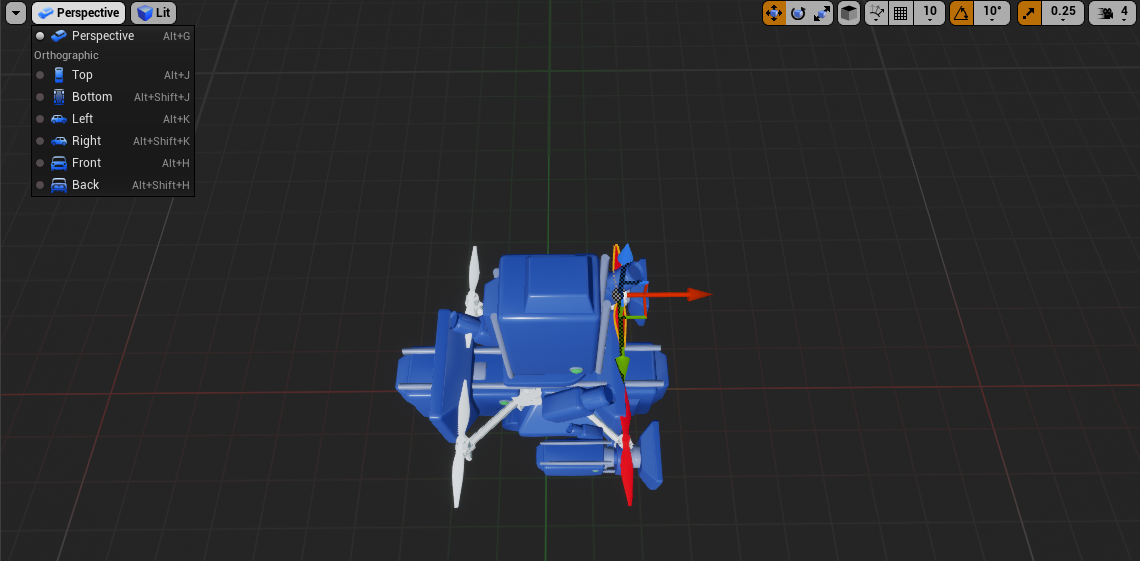
Adjust blade model positions
Custom Virtual Environments
This step is very involved and if you have not done any 3D modeling before can be very intimidating.
Creating a virtual environment in Unreal consists of gathering Assets to be used in the Landscape.
- For outdoor settings, the Unreal Engine provides a tool specifically for that, the Landscape Editor.
- For city type settings, you will need Assets for each and every building you would like to use, as well as materials and textures for the models.
I do not recommend trying to build a virtual environment totally from scratch, because the complexity required for a decent looking environment can take many hours. Visit the Unreal Asset Store and try to find free or low cost assets for the task of building your own virtual environment for simplicity and efficiency.